
First of all, do you need Wordfence for your WordPress website? Yes, you do. This post will show you the different options of Wordfence and explain to you what it does.
Maybe you have read my post about How to stop spam comments in WordPress/website with a few easy steps!, where I show you some settings in WordPress and quickly present Wordfence.
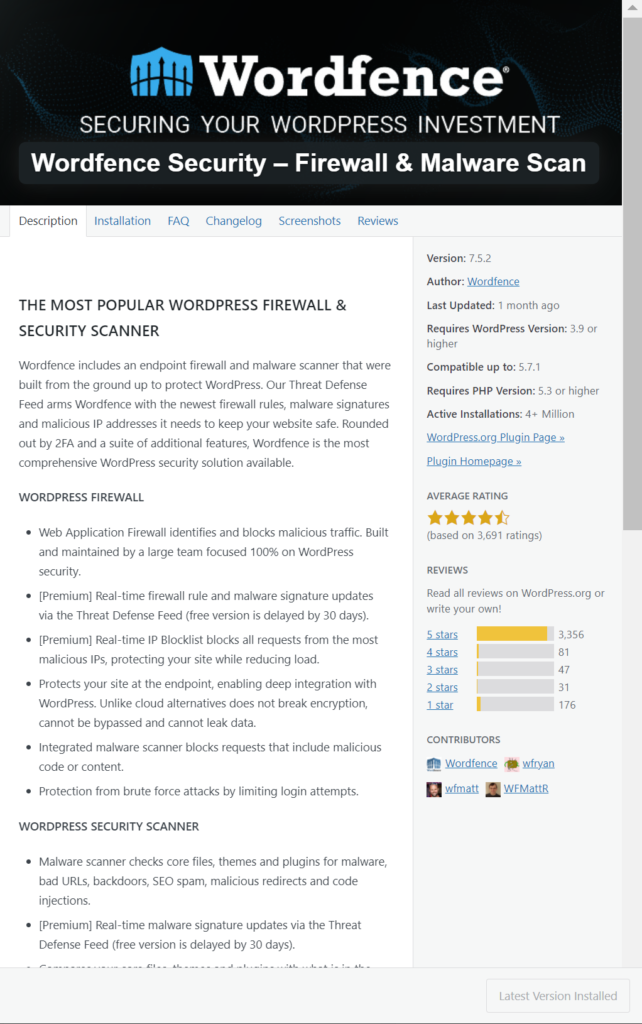
A quick summary: Wordfence is highly rated and installed actively on more than 4 million websites. It takes care of your security in the form of a firewall and it scans for malware. In addition, it protects from brute force attacks, blocks malicious traffic, and has even 2 step verification.
The Wordfence Dashboard
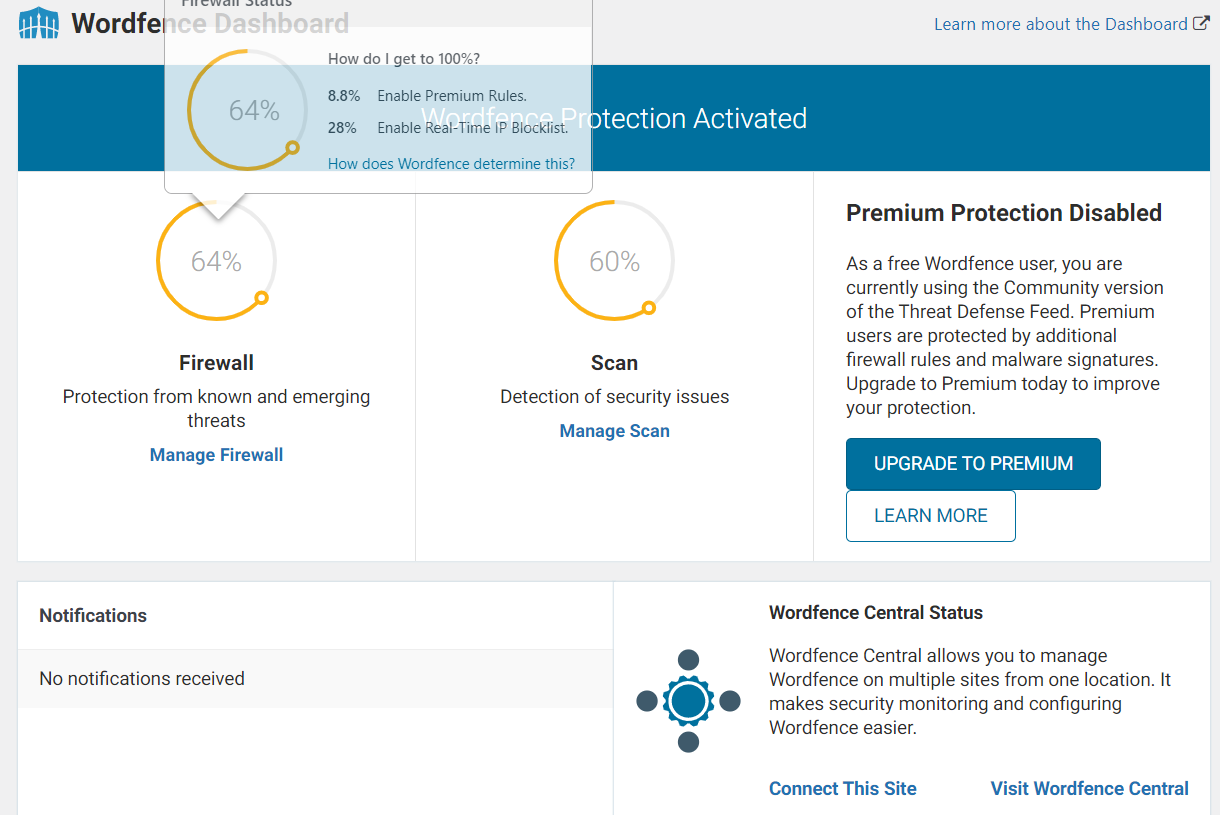
Let’s start with the dashboard. First, you have a quick overview if Wordfence is activated and you see a certain percentage of protection. As you can see on the picture, you can get to 64% for the Firewall and on Scan 60%. That’s really enough, since you would need Premium for a higher number.
Second, you see below some notifications and on the right a widget for Wordfence Central, which allows you to manage Wordfence on multiple sites from one location.
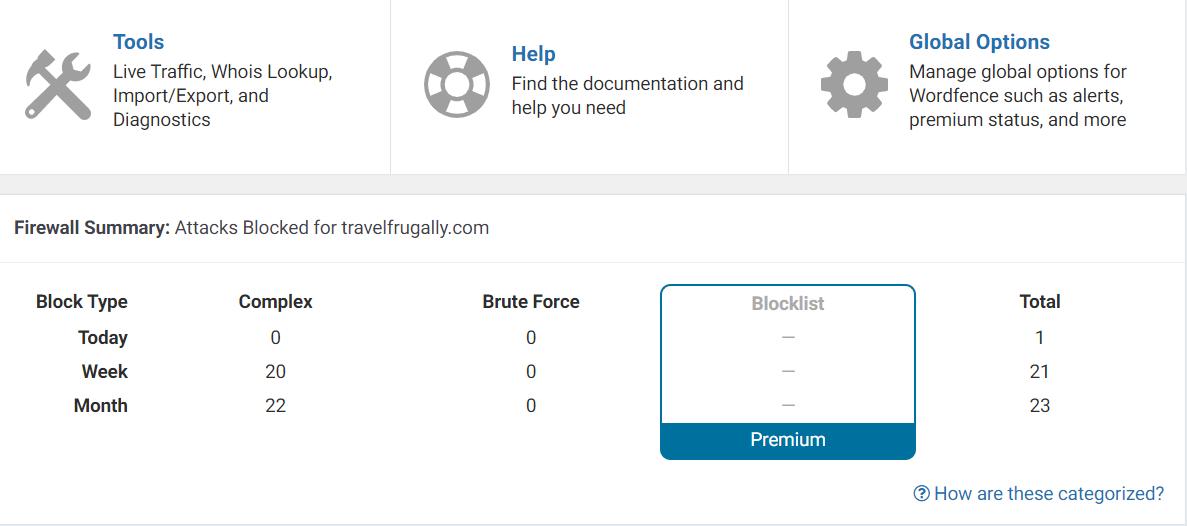
Then, you have Tools, Help and Global Options, followed by a Firewall Summary. On the picture you see for instance that in a week there were 22 complex attacks.
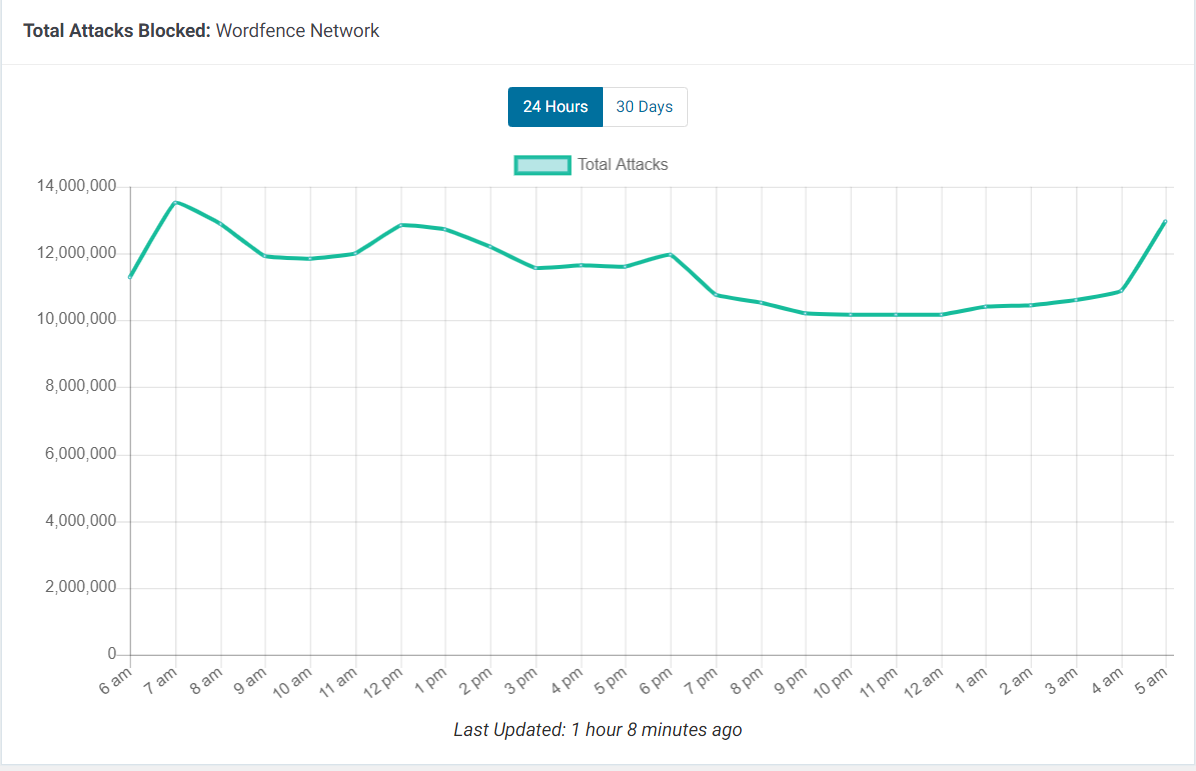
Finally, you can see a fun stat of Total Attacks Blocked on the Wordfence Network, which shows the importance of this plugin.
The Firewall – Wordfence
So, let’s click on Manage Firewall.
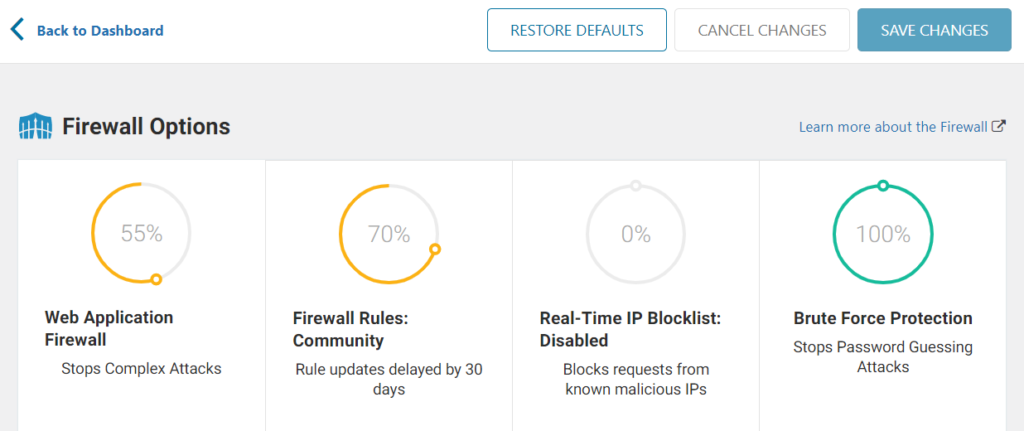
You will see at the top Web Application, Firewall Firewall Rules: Community, Real-Time IP Blocklist: Disabled and Brute Force Protection. These 4 categories are found in the Firewall.
Again, you can’t get a higher percentage on these overviews, unless you pay.
Basic Firewall Options
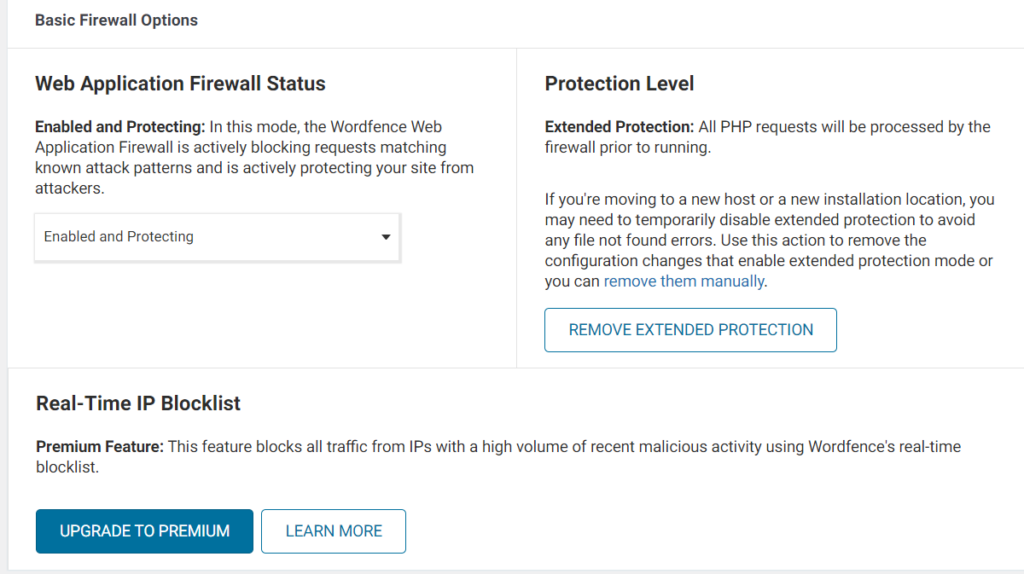
Let’s start with the Basic Firewall Options.
Enable Web Application Firewall Status or if you have freshly installed your site, set it on Learning mode. (Should be automatic) This option is actively blocking requests matching known attack patterns and is actively protecting your site from attackers.
Furthermore, add Extended Protection. If you leave it on basic, it can block many malicious requests, but some vulnerable plugins or WordPress itself may run vulnerable code before all plugins are loaded. With Extended Protection, you allow the firewall to load on your site before WordPress or any other PHP files that may be directly accessible.
Lastly, there would be Real-Time IP Blocklist, which works with the network and blocks IP’s that are currently attacking. It’s not really necessary for beginners.
Advanced Firewall Options
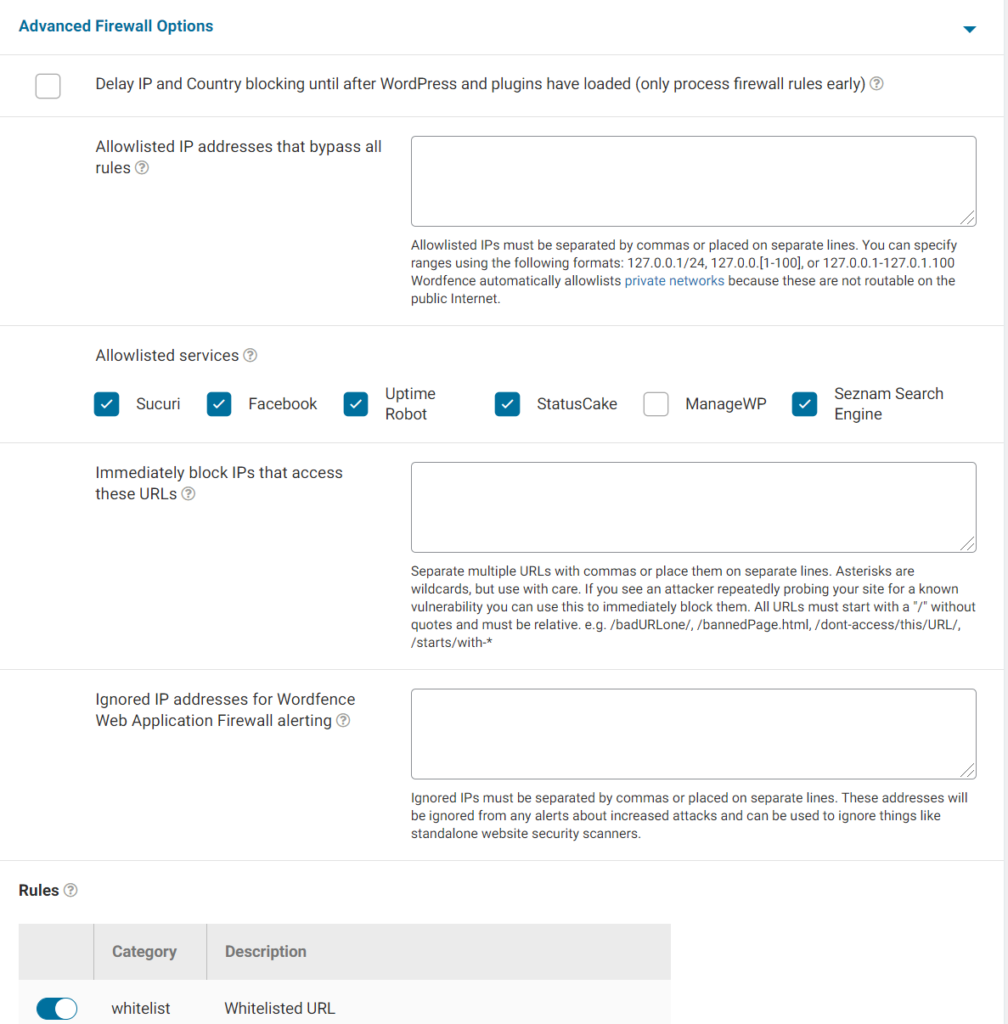
The advanced options are normally good, so you shouldn’t need to change something. The first option, to delay IP and Country blocking until after WordPress and plugins have loaded, is not necessary. Then you can add some IP’s that can bypass every rule, followed by services like Facebook that can pass through.
In addition, you can immediately block IPs that access some URLs. Lastly, you can add some IP’s that WordPress completely ignores.
Then there are some Rules, which means rather protections. Generally, bots try to access your files or so in a known pattern. Since that’s predictable, there are these rules in place that automatically ‘see’ attacks and block them.
Brute Force Protection
Now, this is a very very interesting protection. It takes care of the login into wordpress by limiting login failures or forgot password attempts.
I recommend to content creators which are alone to make the number as low as possible. This means set Lock out after how many login failures to 2, the Count failures over what time period to 1 day etc. This makes your login the safest, since there is practically little chance of a successful breakthrough.
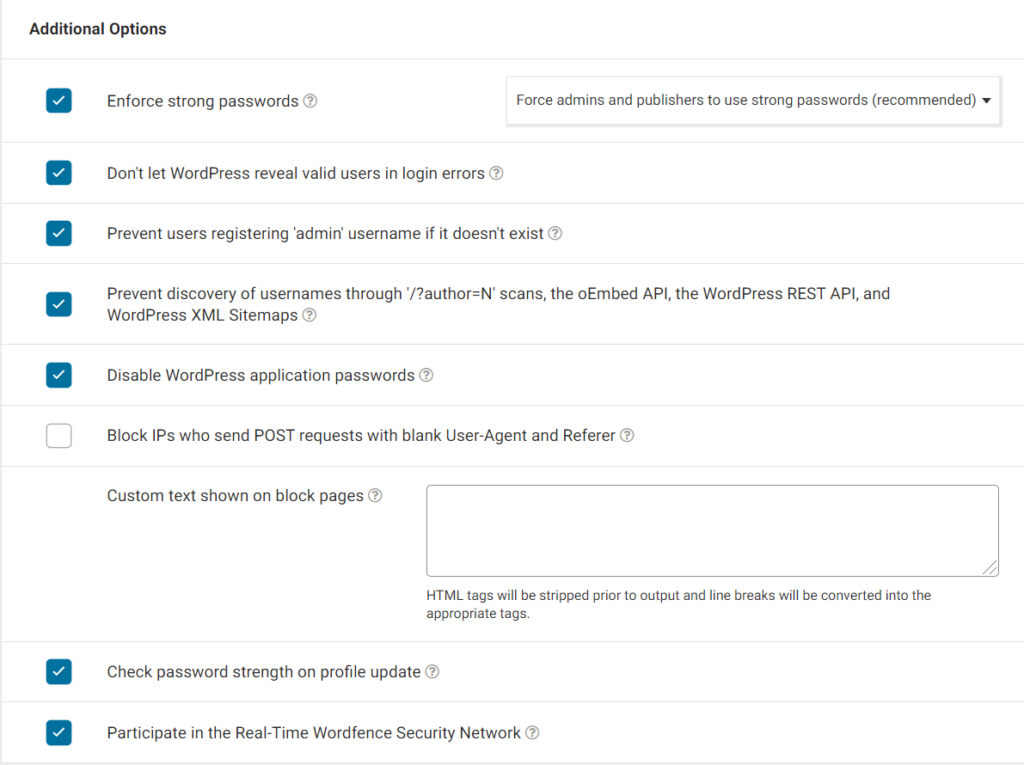
Additional Options
Further down, you have Additional Options. You can let most of them like there are, but you should check if you have activated: Enforce strong passwords, Prevent users registering ‘admin’ username if it doesn’t exist and Check password strength on profile update.
Rate Limiting
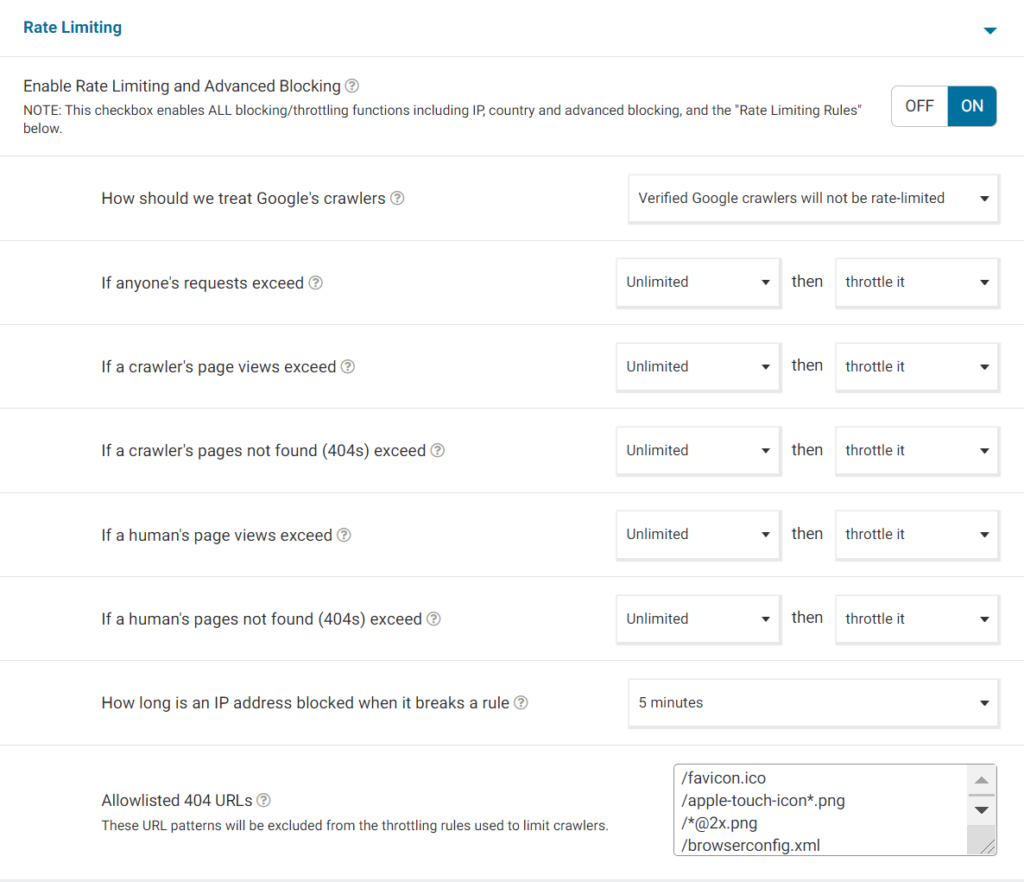
The next option is rate limiting and it gives you control over your website. Simply put, you can limit requests/views or interactions. Once again, the Google crawler will not be rate limited.
You can do something here if your website has problems with too many visitors, but otherwise you can let it be.
Allowlisted URLs
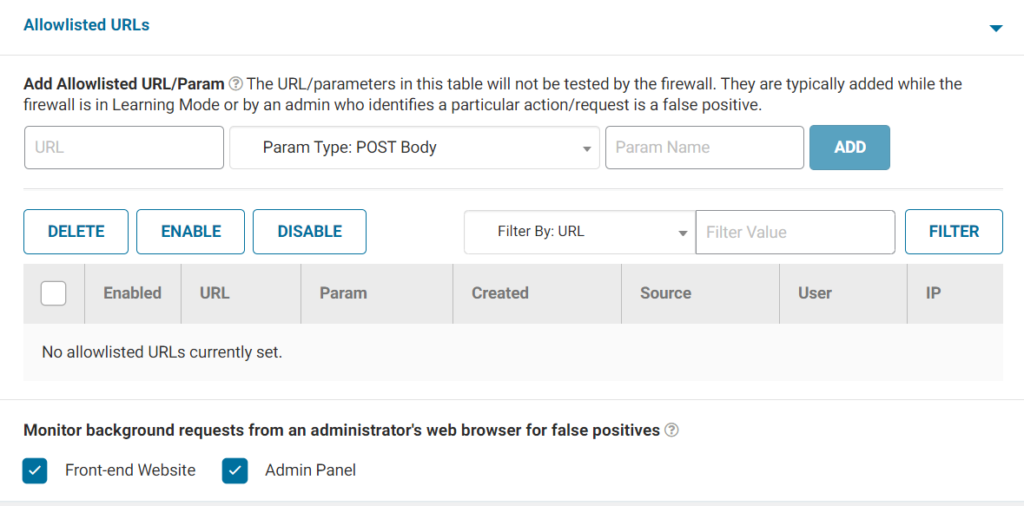
Finally, we arrive at the last option. Here you can add URLs which appear suspicious to Wordfence (and then blocks), but actually aren’t. I didn’t have a problem until now, but it’s good to have.
The security Scan – Wordfence
The Wordfence takes care of, or rather checks, a lot of your website.
For instance:
- Server State
- File Changes
- Malware Scan
- Content Safety
- Public Files
- Password Strength
- Vulnerability Scan
- User & Option Audit
In addition, it checks the Posts, COmments, Url’s, Themes and Plugins. In my opinion, this helps a lot to see immediately if there is a breach or a problem. So make sure that you have this enabled.
If you click on Scan Options and Scheduling, you will be able to choose a few more options. You can use Standard Scan, which fits best with most websites. However, if you think you may have been hacked, use high sensitivity. It is more resource intensive and may produce false positives, but better be safe.
Tools

There are 4 tools:
- Live Traffic
- Whois Lookup
- Import/Export Options
- Diagnostics
The first one lets you take a look at what Wordfence did and is doing to protect your site.
The second one is for checking the website data that is freely accessible on the internet. Normally, you would have bought a Domain privacy addon from your hosting provider.
Thirdly, you can export all these settings or import others. Very important for multiple sites, since a new setup is always exhausting.
Finally, you can see a few nice stats on Diagnostics. For instance, the Wordfence Version or your PHP version.
Login Security and reCAPTCHA V3 Keys

The last option in WordPress is again an important one. Here you can activate Two-Factor Authentication.
If you click on Settings, you will see more options, like if you want to enforce 2FA for all administrators or make an exception for you in the list Allowlisted IP addresses that bypass 2FA.
Furthermore, you can enable reCAPTCHA on the login and user registration pages
Here you can get your codes for reCAPTCHA V3 (if you have registered your site on google).
The best thing about it is that reCAPTCHA v3 will never interrupt your users, so you can run it whenever you like without affecting conversion.